SKU Mapping
-
OSS/BSS Answers
Access Control Security Hub Admin Audit B3Network Master Account Channel App Contract App Customer App Discount App Edge Server File Management Finance App Invoice App Number Management Payment Portal Settings Price List Product App Release V2 SMS Gateway Supplier App Support Center Support Hub Business Hub Sales Hub Finance Hub
- App Model - Organization Management
- App Model - Communication Apps Answers
- License Model - Organization Management
-
License Model - CPaaS Solution Answers
Phone System - Admin Guide Phone System - End-user Guide Mobile App Desktop App Web Phone Omni-Channel Auto Attendant - Admin Guide Developer Hub - Admin Guide Microsoft Teams Operator Connect - Admin Guide Microsoft Teams Direct Routing - Admin Guide Contact Center - Supervisor Guide Contact Center - Agent Guide SIP Trunk CPaaS - SIP Trunk Power SIP Trunk CPaaS Fax CPaaS Hotdesking Contact Campaign File Explorer Power Mobile App Files App Campaign App
- Telcoflow
- Integrations Answers
- Updated Regulations
- Ideas Portal
Table of Contents
Overview
This tab allows you to add SKU Mappings for your Telco services.
Note:
The soft limit for the number of mappings is 1,000.
Configuration
1. Add a new SKU Mapping
In order to do add a new Mapping, please follow the steps below:
- Go to the Supplier app, choose the SKU Mapping tab
- Click the Create Mapping button
- Fill in the required information:
- Name: Input freely, but it should be clear to trace
- Product: Select one among the available options
-
SKU:
- Select from the available list.
- Create a new SKU (Sale model is auto-generated in Product App)
Create a new SKU
In order to create a new SKU, please follow the steps below:
- Search on Google - UUID Generator Tool
- Generate a new UUID Version 4 (e.g 60b46d96-dfbd-4652-8b41-8c158564d595)
- Add that UUID in the SKU box
- Select Create New
- Configure the next steps
Once you finished setting the SKU Mapping, please go to the Product App to set up the price for that newly created sale model.

-
Type: Choose a product type
- Incoming / Outgoing
- Call / SMS / Fax
-
Source Prefix:
- [*] = any source prefix
- Type in any particular source prefix that you want
-
Destination Prefix:
- [*] = any source prefix
- Type in any particular destination prefix that you want
4. Create

2. Import a List of SKU Mapping
In case you have multiple mappings and would like to add them at the same time, you can use the Import option.
In order to do so, please follow the steps below:
- Create the CSV file with the format as below.
- Click the Import button and select the created File
- Upload
| PRODUCT | SKU | NAME | TYPE | DEST_PREFIXES | SRC_PREFIXES |
|---|---|---|---|---|---|
| call-incoming | 1b4b63d5-73fd-4dcb-800a-fcc221a8df6a | Vietnam | CALL_INCOMING | "[""84""]" | "[""84""]" |
| call-outgoing | 10a3a490-cf3d-49ce-bb47-df2e52456047 | Singapore | CALL_OUTGOING | "[""65""]" | "[""84""]" |

3. Matching
By default, the system checks the matching by the following column order:
- 1. Type > 2. Source Prefix > 3. Destination Prefix > 4. Product > 5. Name > 6. SKU
- At each column, if multiple matches are found, the one with the longest explicit match is chosen.
- If no match is found, the mapping will go with the default supplier rules.
4. Other actions:
Search a Mapping
To search a Mapping, type in its name in the searching box.

Export
To export the mapping list, click on the Export button.

Edit
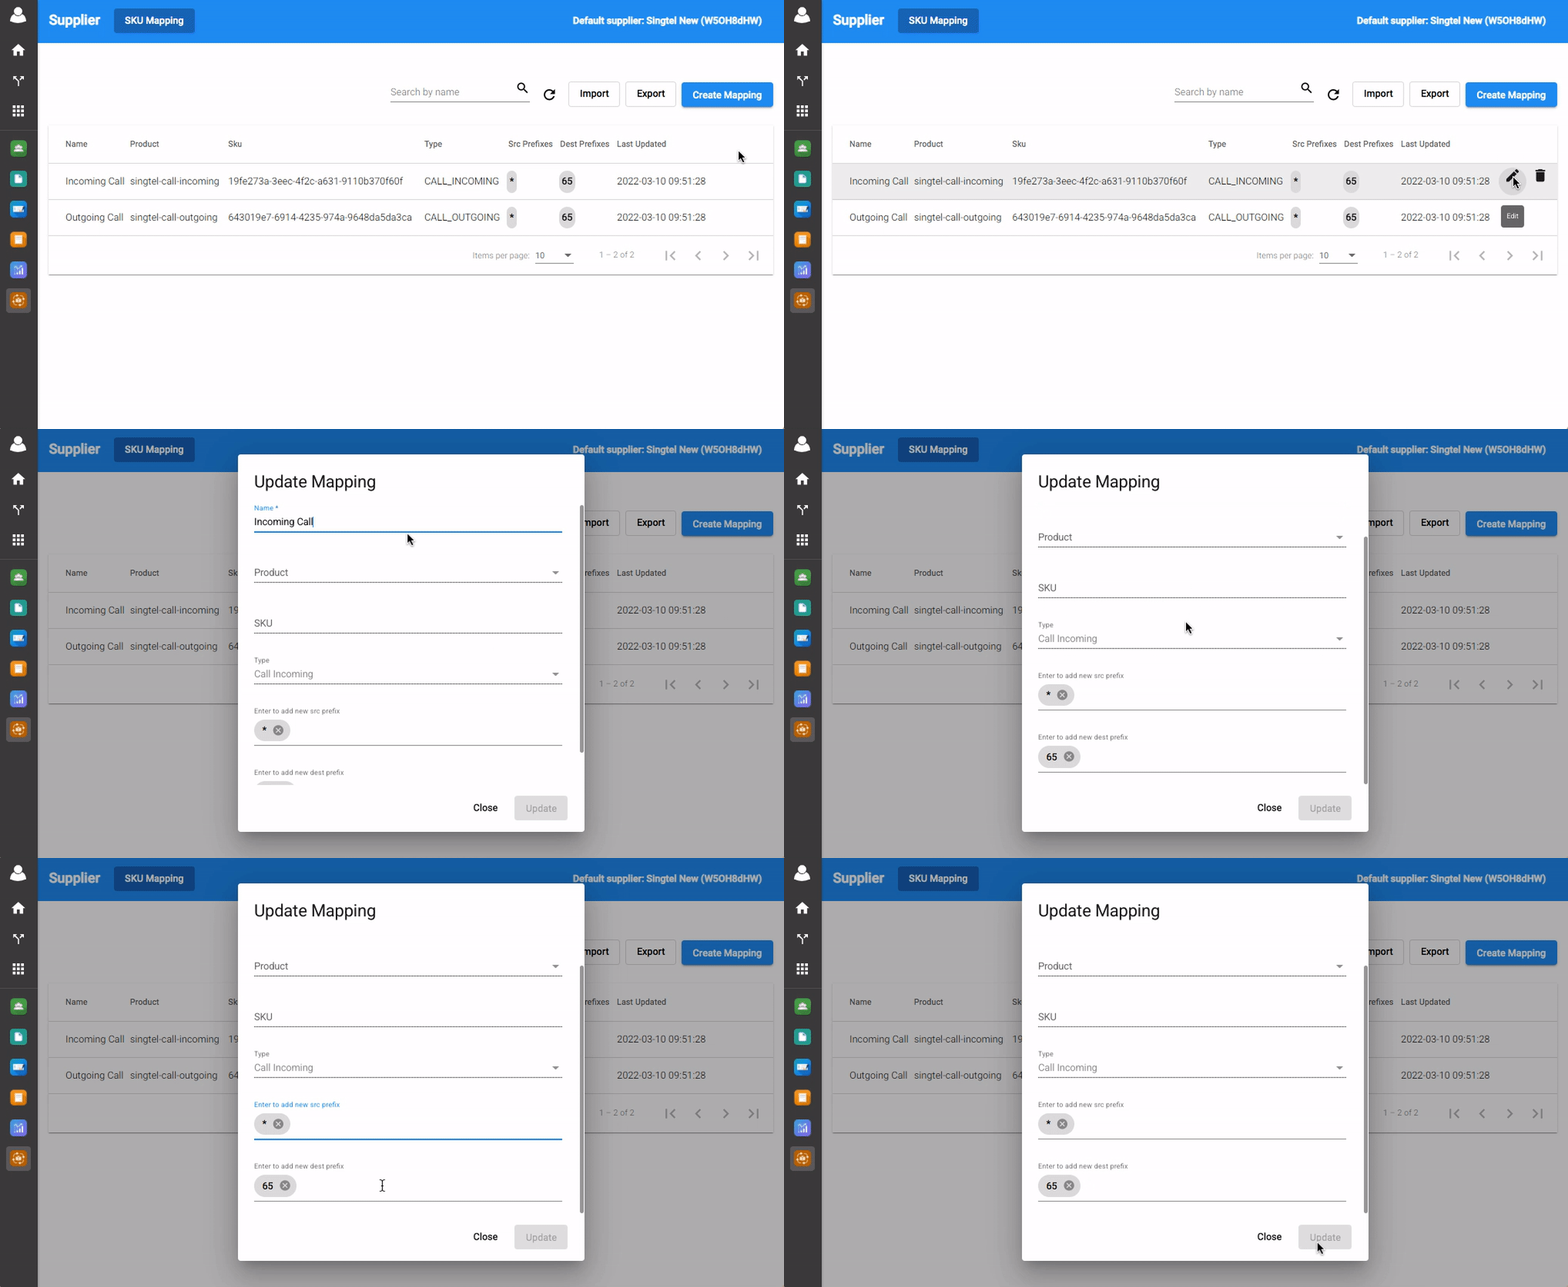
- To edit the detail of a mapping, click on the Pencil icon.
- Amend:
- Name
- Source Prefix
- Destination Prefix
- Update

Delete a Mapping
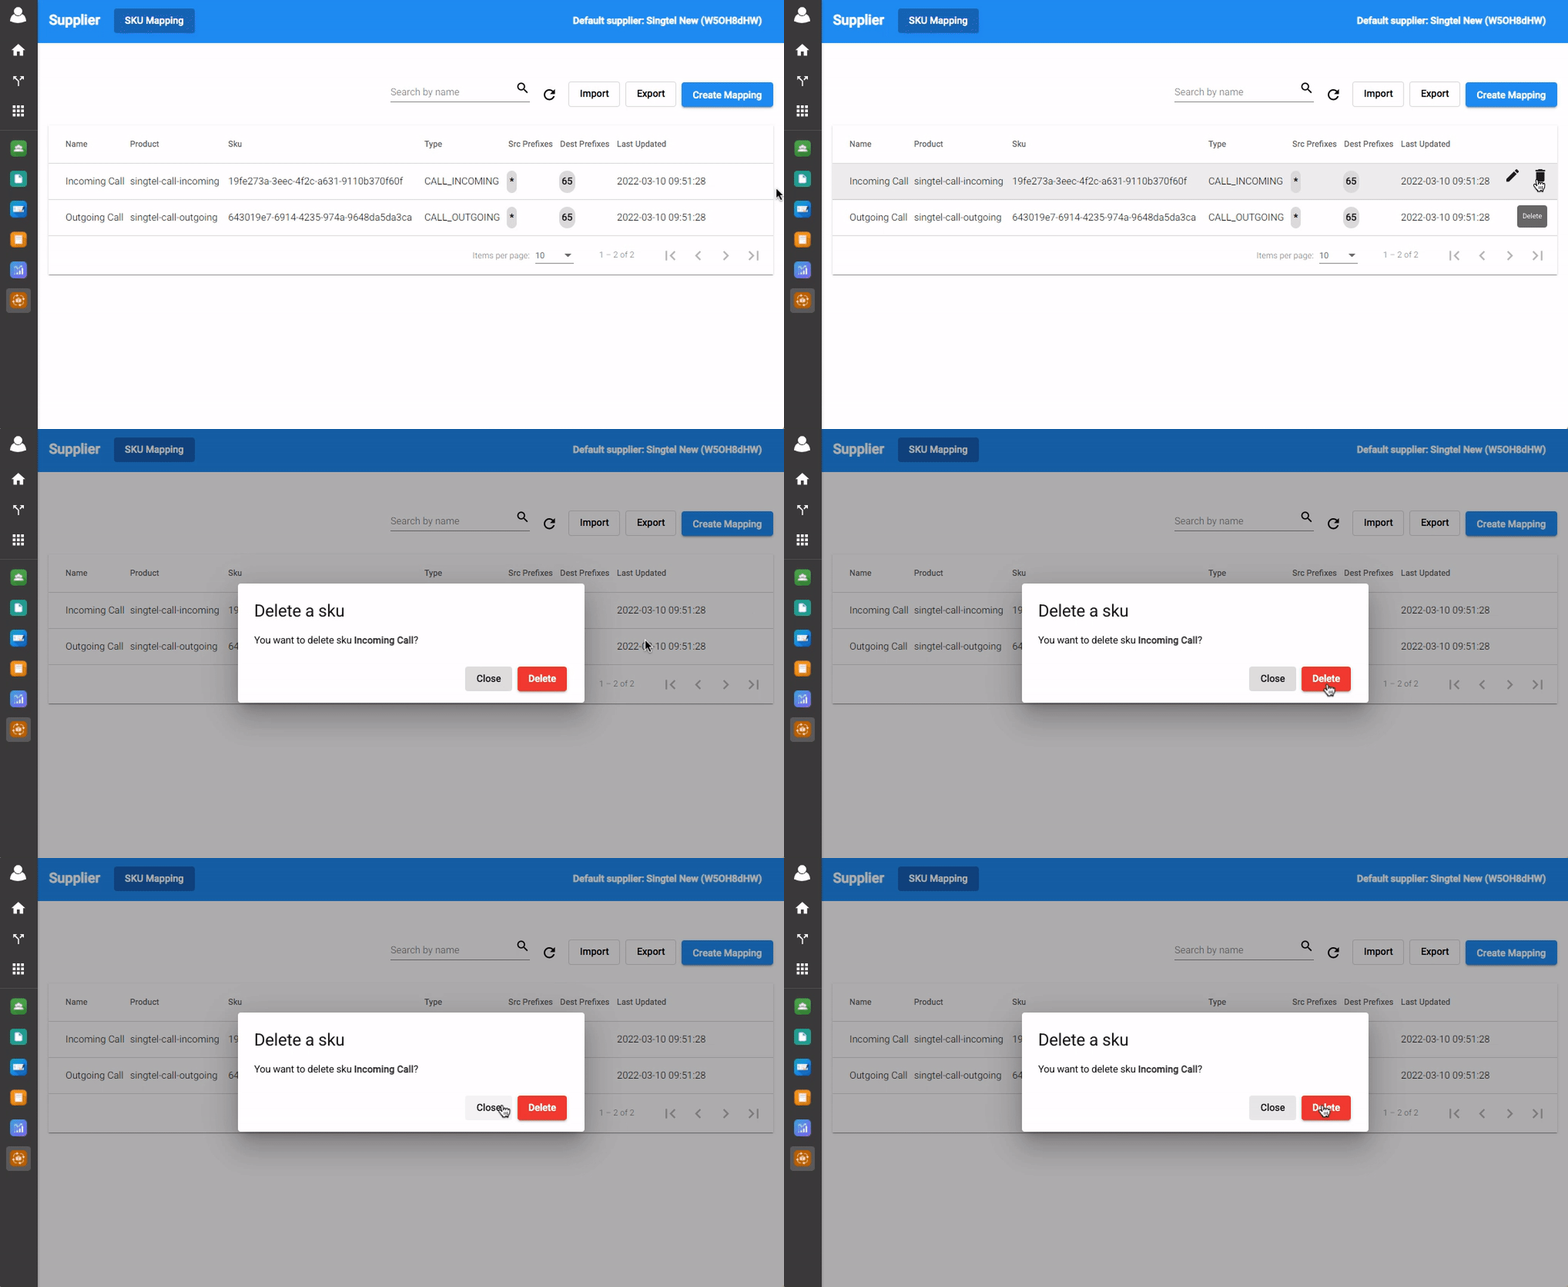
To delete a Mapping, click on the Trash icon.

Note:
Any changes in the Supplier App will affect all of the customers under the domain.