Call Recording

Written by B3Networks Academy
Updated at July 31st, 2024
-
OSS/BSS Answers
Access Control Security Hub Admin Audit B3Network Master Account Channel App Contract App Customer App Discount App Edge Server File Management Finance App Invoice App Number Management Payment Portal Settings Price List Product App Release V2 SMS Gateway Supplier App Support Center Support Hub Business Hub Sales Hub Finance Hub
- App Model - Organization Management
- App Model - Communication Apps Answers
- License Model - Organization Management
-
License Model - CPaaS Solution Answers
Phone System - Admin Guide Phone System - End-user Guide Mobile App Desktop App Web Phone Omni-Channel Auto Attendant - Admin Guide Developer Hub - Admin Guide Microsoft Teams Operator Connect - Admin Guide Microsoft Teams Direct Routing - Admin Guide Contact Center - Supervisor Guide Contact Center - Agent Guide SIP Trunk CPaaS - SIP Trunk Power SIP Trunk CPaaS Fax CPaaS Hotdesking Contact Campaign File Explorer Power Mobile App Files App Campaign App
- Telcoflow
- Integrations Answers
- Updated Regulations
- Ideas Portal
Table of Contents
Download a Call Recording File
- Go to File Explorer > Select time range
- Select All orChose a Folder or Go to Folder > Select Recording File
- Click the Download Icon

Delete a Call Recording File
- Go to File Explorer > Select time range
- Select All orChose a Folder or Go to Folder > Select Recording File
- Click the Delete Icon
- To confirm your action, click the Delete button
- To cancel your action, click the Cancel Button

Restore a Call Recording File
- Go to File Explorer > More Action (click on the ellipsis icon) > Trash
- Chose a Folder or Go to Folder > Select Recording File
- Click on the Restore Icon

Shred a Call Recording File
- Go to File Explorer > More Action (click on the ellipsis icon) > Trash
- Chose a Folder or Go to Folder > Select Recording File
- Click on the Shred Icon
- To confirm your action, type CONFIRM in the textbox and click on the Shred button
Note:
All deleted files and folders that have been moved to the Trash Bin will be automatically permanently deleted after 30 days.

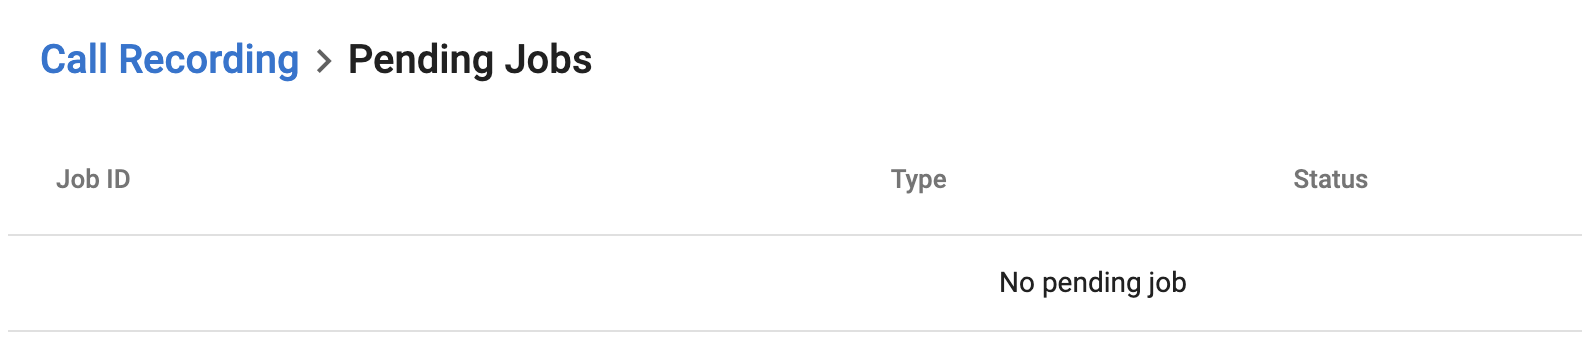
Check Pending Actions
- Go to File Explorer > More Action (click on the ellipsis icon) > Job List
- Check the Pending Jobs. These will have the following details:
- Job ID
- Type (Download/Delete/Restore/Shred)
- Status (Pending/Done)

Note:
Once completed, the Job will disappear from the Pending Jobs list.
Note:
The SLA of call recording uploading on Unified History is 24 hours.
The SLA of call recording uploading process is 1500 seconds = 25 minutes.
This value is decided based on a ratio of 1:100 compared to the maximum talk time of 4 hours, with an additional 1 minute accounted for as overhead time for the file upload process.