Swap a new DDI number for the existing User

Written by B3Networks Academy
Updated at February 6th, 2025
-
OSS/BSS Answers
Access Control Security Hub Admin Audit B3Network Master Account Channel App Contract App Customer App Discount App Edge Server File Management Finance App Invoice App Number Management Payment Portal Settings Price List Product App Release V2 SMS Gateway Supplier App Support Center Support Hub Business Hub Sales Hub Finance Hub
- App Model - Organization Management
- App Model - Communication Apps Answers
- License Model - Organization Management
-
License Model - CPaaS Solution Answers
Phone System - Admin Guide Phone System - End-user Guide Mobile App Desktop App Web Phone Omni-Channel Auto Attendant - Admin Guide Developer Hub - Admin Guide Microsoft Teams Operator Connect - Admin Guide Microsoft Teams Direct Routing - Admin Guide Contact Center - Supervisor Guide Contact Center - Agent Guide SIP Trunk CPaaS - SIP Trunk Power SIP Trunk CPaaS Fax CPaaS Hotdesking Contact Campaign File Explorer Power Mobile App Files App Campaign App
- Telcoflow
- Integrations Answers
- Updated Regulations
- Ideas Portal
Table of Contents
Due to some reasons, your agents need to use new numbers. In that cases, you can swap your agent's number for a new one.
In order to do so, please follow the steps below:
1. Unassign the User from the current number on the Microsoft Teams Admin center
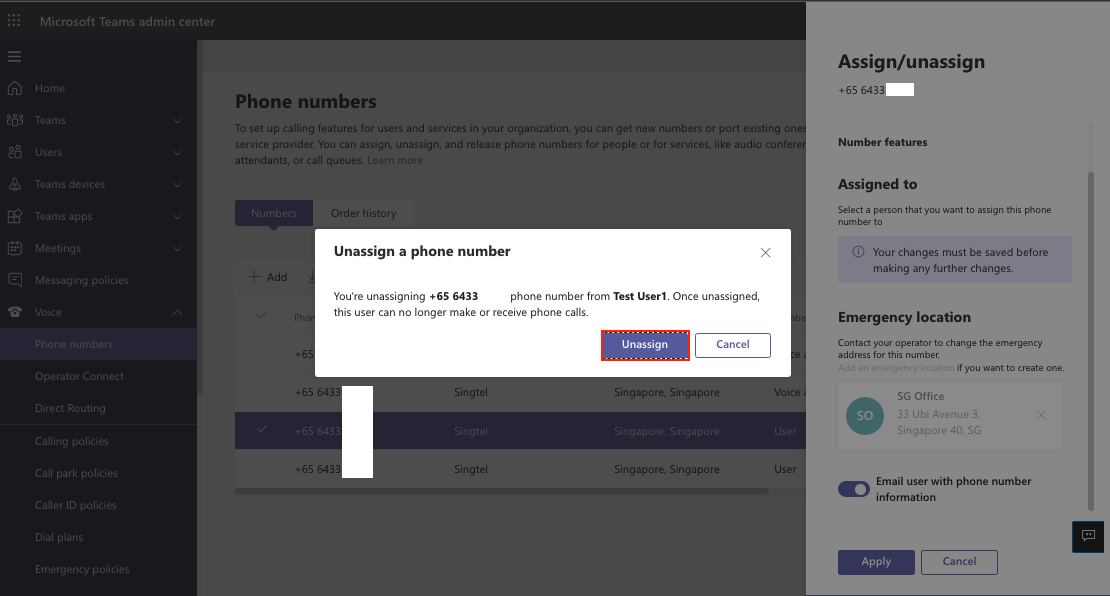
Remove a phone number from the user
To remove a phone number by using the Teams admin center:
- In the left navigation, click Users, locate and double-click the user you want, click Account, and then under General information, make a note of the phone number that's assigned to the user.
- In the left navigation, click Voice > Phone numbers.
- On the Phone numbers page, select the number that you identified in the previous step, and then click Edit.
- In the Edit pane, under Assigned to, click the X to remove the user.
- Click Save.
2. Release that number from Microsoft Teams Admin center
Release the number
- On the Phone numbers page, select the number that you identified in step 1, and then click Release.
- Input the confirmed Code to take action.
- Release

3. Swap a new number for the User on the CPaaS Portal
Unassign the current number and Assign a new number for User:
- Go to Manage Organization > choose Licenses tab
- Find the account that you want to change the number > click on Assigned Numbers > Manage
- Remove the existing Number >assign the new Number

5. Upload the new DDI number
Once you finish the above steps, the system will automatically update the new DDI number on the Microsoft Teams tab.
Upload the new DDI number:
- Go to Application Settings > choose the Microsoft Teams tab
- Tick on the number that you want to upload
- Choose Provision number
- Confirm to take action

6. Assign the new number for the User on the Microsoft Teams Admin center
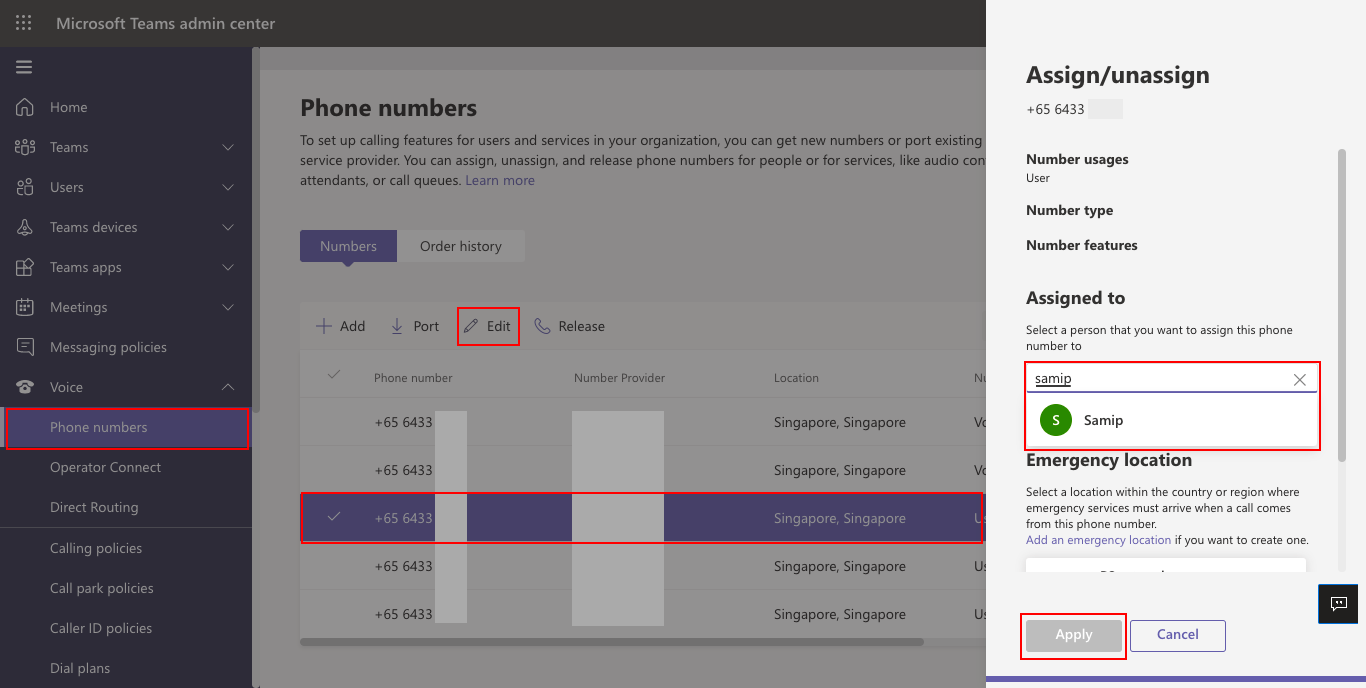
Assign a phone number to a user
To assign a number by using the Teams admin center:
- In the left navigation, click Voice > Phone numbers.
- On the Phone numbers page, select an unassigned number in the list, and then click Edit.
- In the Edit pane, under Assigned to, search for the user by display name or user name, and then click Assign.