Integrated Instruction - Semi Automation

Written by B3Networks Academy
Updated at December 7th, 2023
-
OSS/BSS Answers
Access Control Security Hub Admin Audit B3Network Master Account Channel App Contract App Customer App Discount App Edge Server File Management Finance App Invoice App Number Management Payment Portal Settings Price List Product App Release V2 SMS Gateway Supplier App Support Center Support Hub Business Hub Sales Hub Finance Hub
- App Model - Organization Management
- App Model - Communication Apps Answers
- License Model - Organization Management
-
License Model - CPaaS Solution Answers
Phone System - Admin Guide Phone System - End-user Guide Mobile App Desktop App Web Phone Omni-Channel Auto Attendant - Admin Guide Developer Hub - Admin Guide Microsoft Teams Operator Connect - Admin Guide Microsoft Teams Direct Routing - Admin Guide Contact Center - Supervisor Guide Contact Center - Agent Guide SIP Trunk CPaaS - SIP Trunk Power SIP Trunk CPaaS Fax CPaaS Hotdesking Contact Campaign File Explorer Power Mobile App Files App Campaign App
- Telcoflow
- Integrations Answers
- Updated Regulations
- Ideas Portal
Table of Contents
To integrate, you should follow the steps below:
- Provision CPaaS Phone System Licenses and assign them to Users
- Enable Microsoft Teams on the CPaaS portal
- Verify SBC/FQDN domain
- Assign CPaaS Addon License to Users
- Provision CPaaS numbers to your Microsoft
- Link MS Teams users with proper CPaaS extensions
- Run Powershell + Execute the configuration (outside the CPaaS portal)
- Configure general settings for CPaaS users
- Start using
1. Provision CPaaS Phone System Licenses and assign them to Users
- Go to Manage Organization > Select Licenses
- Go to Phone System > click Provision
- Click Assign >Select available member and choose the extension keyyou want > Assign
- Other available actions:
- Change Extension Key & Directory Name
- Unassign User / Assign to another User
- Other available actions:
2. Enable Microsoft Teams on the CPaaS portal
- Go to Settings > Choose View - System
- Select the Microsoft Teams tab
- Choose Direct Routing without Microsoft Account
- Click Enable
3. Verify SBC/FQDN Domain
Step 1: Get B3 Connect Domain from the CPaaS portal
- Go to Settings > Choose View - System
- Select the Microsoft Teams
- Click the 3-dot icon > View profile
- Copy B3 Connect Domain (this information is unique for each organization)
Step 2: Verify SBC/FQDN Domain:
- Open your Microsoft 365 Admin Center > Go to Settings
- Choose Domains > Add domain
- Atthe Domain name, paste the B3 Connect Domain copied from Step 1
- Click Use this domain
- Choose the option: Add a TXT record to the domain's DNS records > Continue
- Get the TXT values > Go to your domain's registrar or DNS hosting provider > Go to the DNS management page for <B3 Connect Domain>, and add a TXT record that uses the TXT values. When finished, come back to this page and select Verify and Microsoft will confirm you own the domain by finding the new record.
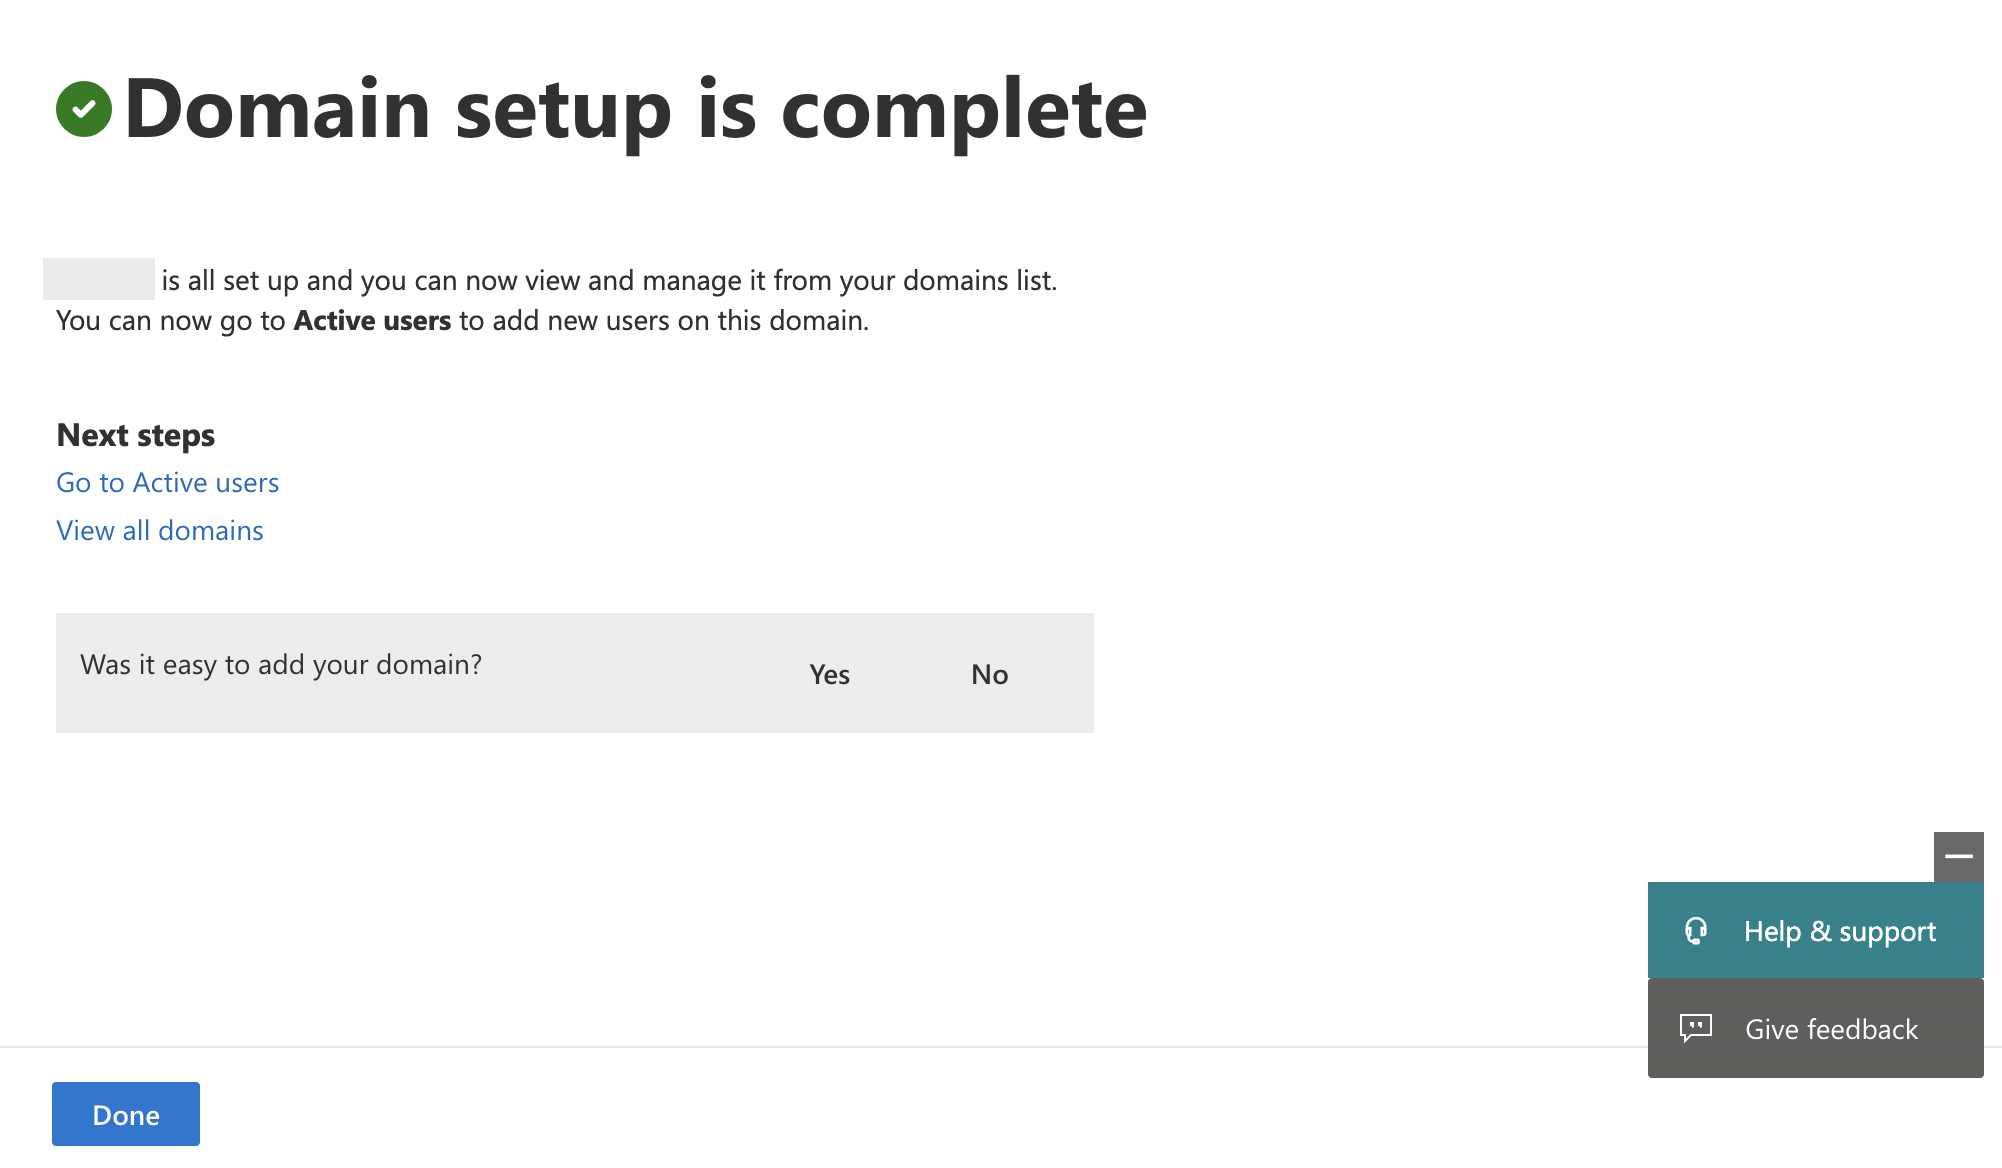
Once the domain is verified successfully, you will be informed as below:
Step 3: Create a temporary Microsoft user for Domain Activation
- Open your Microsoft 365 Admin Center > Show all > Go to Users > Active Users
- Click Add a user > fill in the information:
- First name: randomly
- Last name: randomly
- Display name: randomly
- Username: randomly
- Domains: choose the B3 Connect Domain
- Click Next to assign the user a product license > choose an available license
- Click Next > Next > Finish Adding
Note: Revoke the license
After 24 hours, you can revoke the license from this temporary user by following the steps below:
- Log in to your Microsoft 365 Admin Center
- Choose Users > Active users
- Click on the account
- Select Licenses and apps
- Revoke the license and assign it to other real users.

4. Assign CPaaS Addon License to Users
Option 1: Manual Configuration
- Click on the profile icon > Manage Organization
- Go to Licenses > Phone System
- Touch the extension you want to assign > at Assigned addons, click Manage > select Addon Licenses, including Microsoft Teams Direct Routing (for MS Teams Call Service) OR Microsoft Teams Direct Routing Resource Account (for MS Teams Auto Attendant & Call Queues)
- At Assigned numbers, click Manage > select a Number > Save

Option 2: Bulk Assignment
- Click on the profile icon > Manage Organization
- Go to Licenses > Phone System
- Click Bulk Assignment > Download sample file > Fill in the required information properly:
- Ext key: the key of the extension.
- Number: the number (DID) assigned to the extension.
- User: the user to assign the extension and add-ons to.
- Addon license: the features that a user can use. Insert more columns if the user is assigned to more than 2 features. Use the codes below for the Addon License columns:
Addon License |
Addon License Code |
|---|---|
Microsoft Teams Direct Routing |
device_import_msteams_DR |
Microsoft Teams Direct Routing Resource Account |
device_import_msteams_DR_resource |
Number |
license_number |
Team Chat |
team_chat |
DNC |
license_dnc_checking_enabled |
Call Recording |
call_recording |
Unlimited Call Recording Storage |
license_call_recording_unlimited_enabled |
Ext |
Number |
User |
Addon license 1 |
Addon license 2 |
Addon license 3 |
|---|---|---|---|---|---|
100 |
6567891230 |
John |
device_import_msteams_DR |
device_mobile_app |
license_dnc_checking_enabled |
101 |
6567891231 |
Alice |
device_import_msteams_DR |
device_mobile_app |
license_dnc_checking_enabled |
102 |
6567891232 |
Resource Account |
device_import_msteams_DR_resource |
device_desktop_app |
call_recording |
103 |
6567891233 |
Hallie |
device_ip_phone |
device_desktop_app |
call_recording |

Result
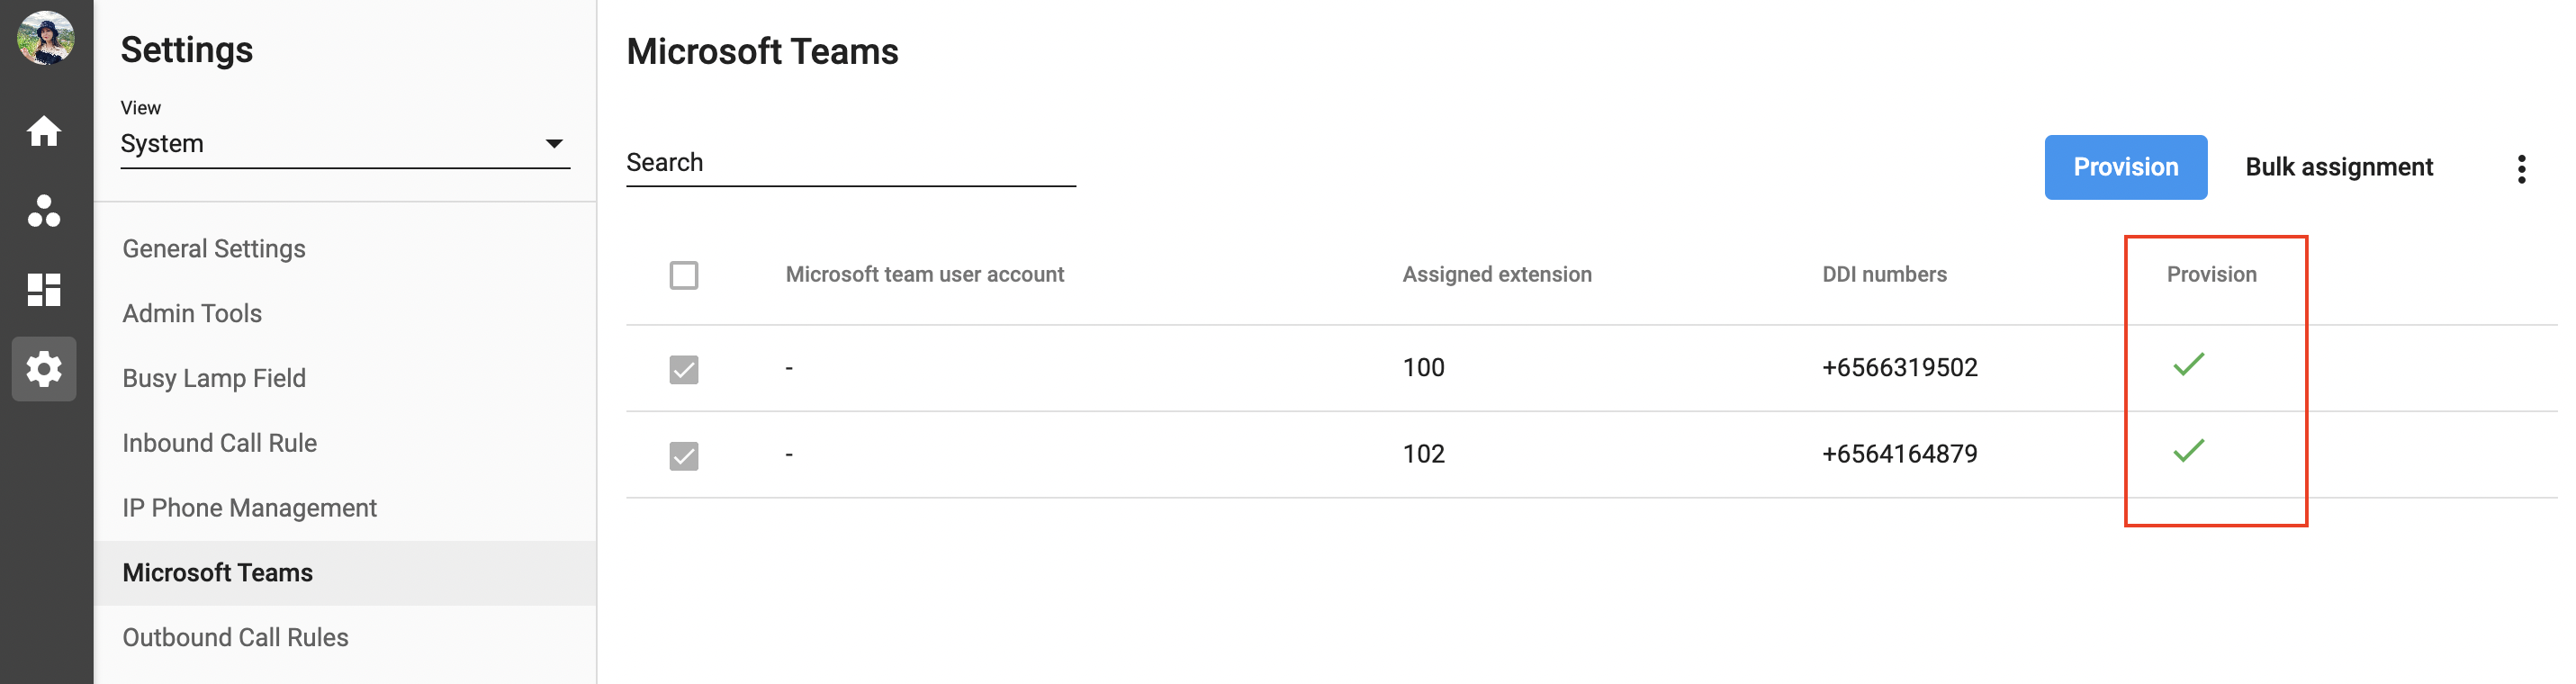
Once you completed this step, you will see a list of assigned extensions and numbers on the Microsoft Teams tab.
5. Provision CPaaS numbers to your Microsoft
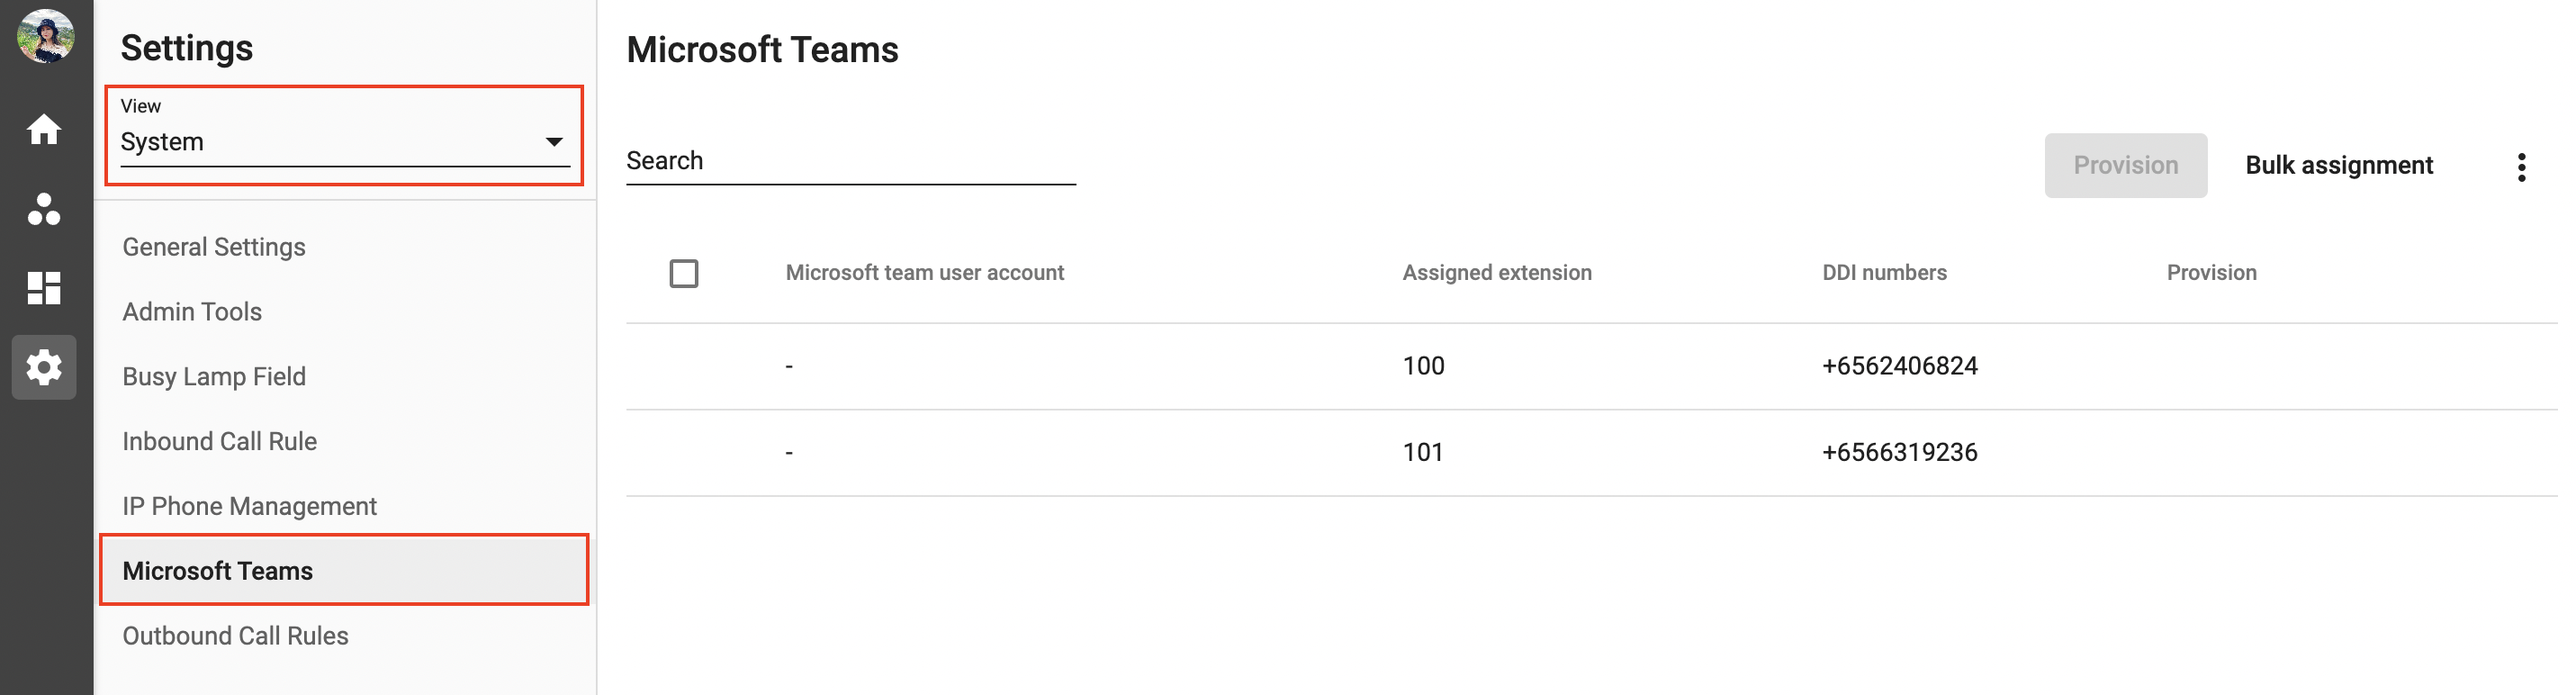
- Go to Settings > choose View - System
- Select the Microsoft Teams tab
- Choose the number that you want to upload by ticking the box
- Click Provision > choose the number format:
- Extension
- DDI numbers
-
System Defined:
- The organization only has 1 number => DDI numbers format
- The organization has no number => Extension format
- The organization has multiple numbers => Extension format
- Confirm your action by clicking Provision
Note:
The number format will be applied to the whole organization and cannot be changed.

6. Link MS Teams accounts with CPaaS extensions
- Go to the Application Settings, choose the Microsoft Teams
- Click Bulk Assignment
- Select Download sample file
- Fill in Microsoft accounts with appropriate CPaaS extensions/DDI Numbers
- Upload CSV


7. Run PowerShell
Step 1: Generate PowerShell Script from CPaaS Portal
- On the Microsoft Teams tab, click on the 3 dots icon
- Choose View Script
- Select Copy Script
Step 2: Open the PowerShell to connect Microsoft Tenant by the global administrator:

Step 3: Paste the generated Power Shell script to PowerShell:

PowerShell commands explanation:
- Start Power Shell as Administrator (or with Administrator Privileges):
- Add the first user to the trunk:
Set-CsUser -identity "<A's Username>" -EnterpriseVoiceEnabled $true -HostedVoicemail $true -OnPremlineURI tel:<A's assigned extension / DDI number>
- Configure Microsoft 365 tenant to enable direct routing:
- Assign Voice Routing Policy to users:
- Add the rest of the users to the trunk:
- Script for Resource accounts (assign a number to a Resource account used for Auto-attendants or Call Queues):
Note:
Click here for PowerShell tutorial.
8. Configure general settings for CPaaS users
-
System Settings:
- General Settings
- Admin Tools (compulsory)
- Inbound Call Rule (optional)
- Outbound Call Rule (compulsory)
-
User Settings:
- Overview
- Call History
- Change user's status (compulsory)
- Call Forwarding (optional)
- Call Recording (optional)
- Delegate (optional)
- Devices (compulsory)
- Inbound Call (compulsory)
- Inbound Call Filter (optional)
- Inbound Missed Calls (compulsory)
- Music On Hold (optional)
- Outbound Call (compulsory)
- Working Hours (compulsory)
Note:
Users must be assigned to an Outbound Call Rule in order to call out.
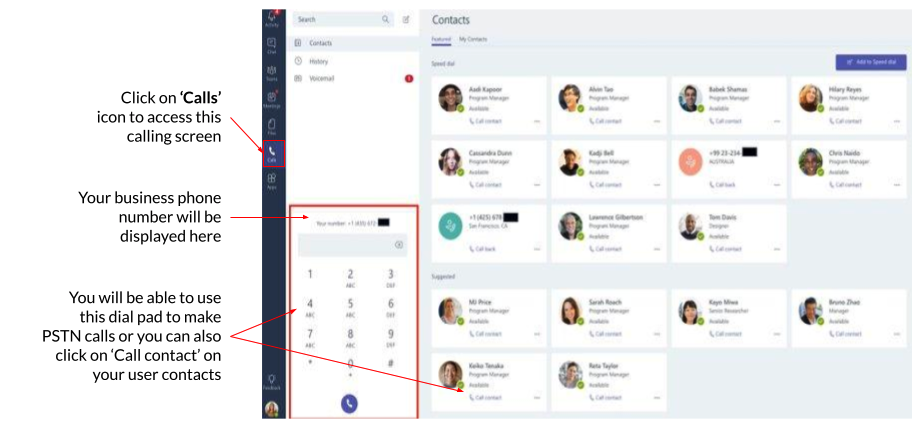
9. Start using
Open the Microsoft Teams Desktop application or Mobile application > Enjoy your call